PROXX · 4 min read
PROXX Guide: Read Clues and Clear Black Holes Safely
PROXX is a space-themed logic puzzle built around the familiar idea of clearing a hidden field without opening a hazard. Here the hazards are black holes. A revealed number tells you how many black holes occupy the eight surrounding positions, while a blank tile means none of those neighbors is dangerous. The goal is not to mark every black hole for its own sake: you win by revealing every safe tile. Flags are tools that help you reason about the board and safely clear the remaining spaces.
Play PROXXStart with the protected opening
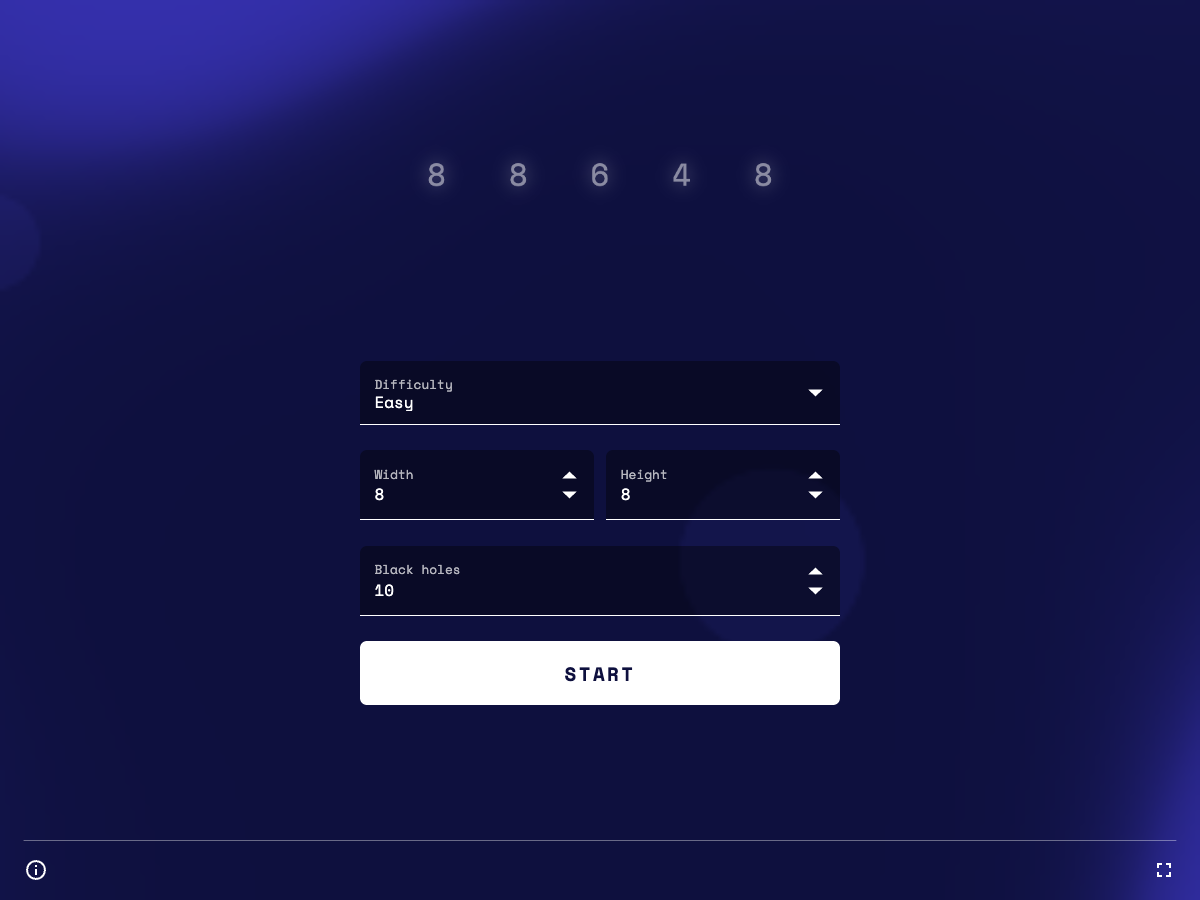
The opening screen offers Easy, Medium, Hard, and Custom boards. Easy uses an 8×8 field with 10 black holes and is the best place to learn the visual language. Medium expands to 16×16 with 40 black holes, while Hard uses 24×24 with 99. Custom lets you change the width, height, and number of black holes within the limits shown by the controls.
Your first reveal is unusually friendly. PROXX does not place a black hole on the tile you choose or in the surrounding 3×3 area. That means the first action cannot lose the game and often opens a useful patch of blank tiles and numbered clues. A central opening generally exposes more neighboring information than a corner, so it is a practical default when you have no other plan.
- Leave the difficulty on Easy for the first run.
- Press Start, then reveal a tile near the center of the grid.
- Pause for a moment and read the numbered edge around the automatically cleared area.
Read each number as a local constraint
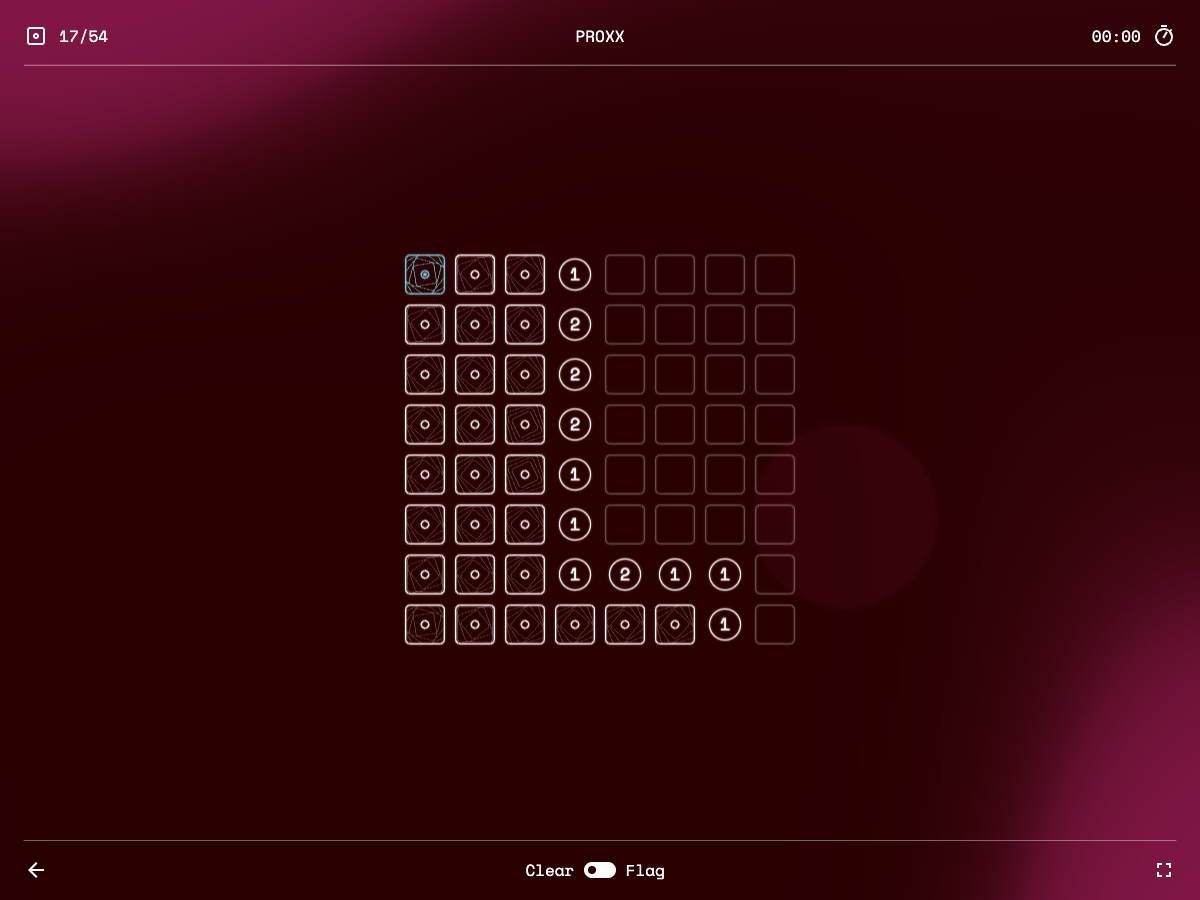
A number counts black holes in the eight positions touching that tile, including diagonals. A 1 means exactly one of those neighboring hidden tiles is dangerous; a 2 means exactly two, and so on. Do not read a number in isolation. Compare adjacent clues because they share many of the same hidden positions, and the overlap often tells you which square must be safe or dangerous.
Blank revealed tiles have zero neighboring black holes. PROXX automatically expands through connected blank space, which is why one safe click can uncover a large region. The numbered boundary around that region is where the real deduction begins. Work from clues with only a few hidden neighbors first; they usually have fewer possible arrangements and therefore give stronger information.
Flag danger, then clear what must be safe
Switch from Clear to Flag when the clues prove a hidden tile contains a black hole. On desktop, F changes the mode and right-click performs the alternate action without requiring a mode change. On touch screens, use the Clear/Flag switch at the bottom and tap the tile you want to mark. A flag is not a score bonus; its value is that it records a conclusion and lets surrounding clues become easier to solve.
When a revealed clue already has the required number of flagged neighbors, the remaining hidden neighbors around that clue must be safe. Activate that clue to reveal those non-flagged tiles together. This is faster and less error-prone than clearing them one at a time. The reverse rule is just as useful: if a clue still needs two black holes and only two hidden neighbors remain, both hidden tiles must be black holes and can be flagged.
Chase time only after the logic is stable
The top of the screen shows how many safe tiles remain and a running timer. A board ends successfully when every non-black-hole tile has been revealed. The result screen records your completion time and best time for that board configuration. Restarting the same difficulty gives you a fresh arrangement, so memorizing a previous board will not help.
For early runs, ignore the clock while making deductions. A single speculative reveal can end a nearly solved board, while a few extra seconds spent comparing two clues can remove the guess entirely. Once the basic patterns feel automatic, use the same habits more quickly: scan the boundary, flag only proven hazards, clear proven safe tiles in groups, and move on instead of repeatedly rechecking solved areas.
Quick tips
- Open near the center on a fresh board to take advantage of the protected first 3×3 area and expose more clues.
- A flag should represent a deduction, not a suspicion; uncertain flags can make later clue logic misleading.
- When a clue's flagged neighbors equal its number, the other hidden neighbors around that clue are safe.
- When the number of hidden neighbors equals the number of black holes still required, every one of those hidden neighbors is dangerous.