Jewelsback · 4 min read
Jewelsback Guide: Turn Simple Matches into Useful Cascades
Jewelsback starts with a tiny matching board, then expands into larger layouts with locked spaces and special pieces. Your first goal is to finish the tutorial; your next is to raise the cumulative score to 300 and clear Level 1. There is no countdown or move allowance pushing you to rush. Examine the shapes, choose a swap, and let every resulting cascade finish before planning again.
Play JewelsbackMake a legal swap
Choose Play now to begin. Click one jewel, then click an adjacent jewel above, below, left, or right to swap them. You can also drag a jewel onto its neighbour. Selection highlights help show the available targets. Diagonal pieces are not neighbours, and dark locked spaces cannot be moved.
Look for a swap that produces at least three jewels of the same shape in a horizontal or vertical line. A two-by-two square of one shape is also useful. Because the board is generated afresh, copy the matching pattern you are looking for rather than expecting the same jewels in every starting position.
Clear the tutorial and approach Level 1
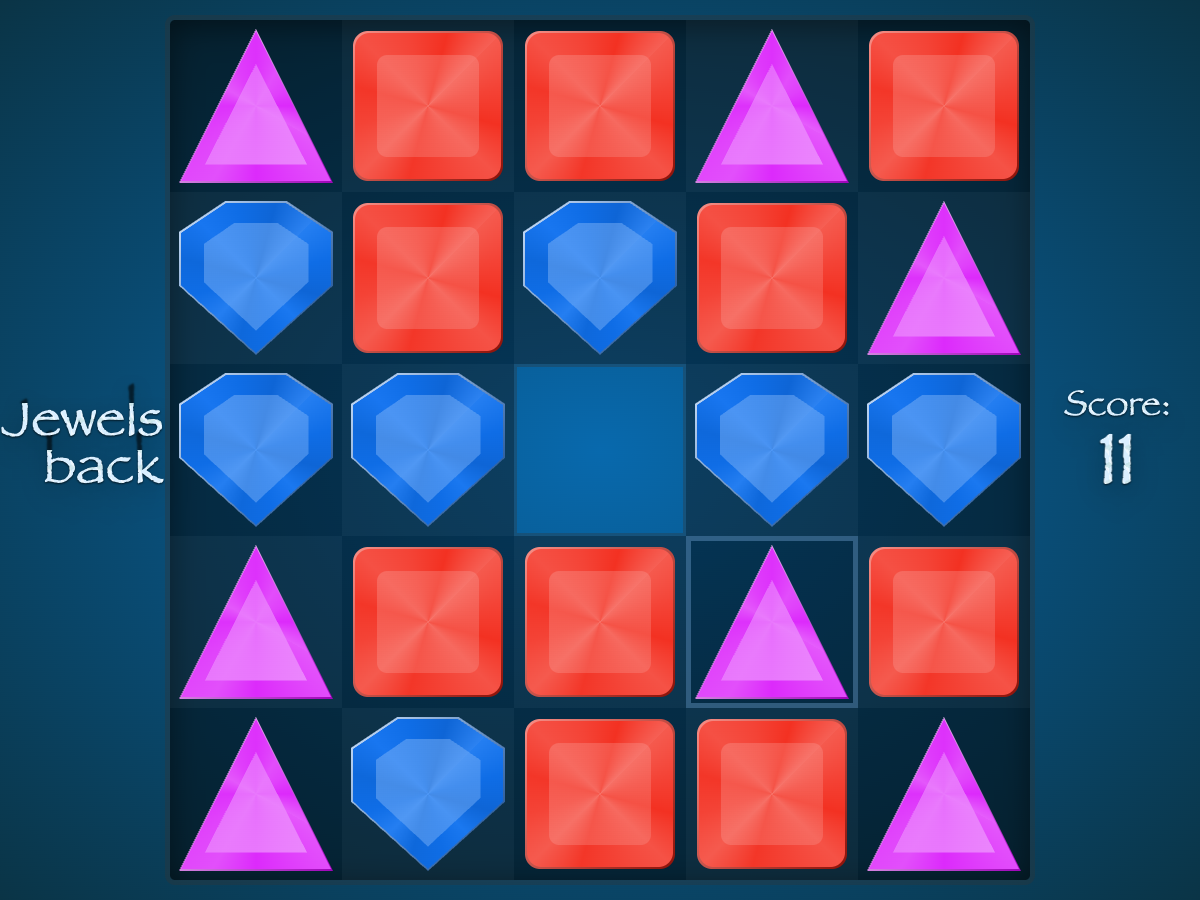
The tutorial uses a three-by-three board and a ten-point milestone. Make available matches until the completion message appears, then wait for the next board to fill. Level 1 expands to five by five, introduces a locked centre, and requires a cumulative score of 300. The score carries forward from the tutorial.
- Scan rows and columns for two identical shapes with a third shape one swap away.
- Check for a two-by-two square that can be completed with one adjacent swap.
- Make the swap, wait for falling jewels to settle, then scan the new arrangement.
Choose moves that leave opportunities
The locked centre of Level 1 interrupts lines, so do not count a matching shape on the other side of that space as part of a continuous match. Examine each side separately. When two swaps are available, prefer the one that creates a larger match or leaves another visible pair ready for the next turn.
A cascade occurs when replacement jewels form further matches. These follow-up matches increase the scoring multiplier within that move, which can make a modest opening swap much more valuable than expected. You cannot know every incoming jewel, so aim for useful arrangements without assuming a cascade is guaranteed.
Recognise special jewels
A two-by-two match produces smoke specials, while a line of four produces fire specials. Their effects can clear more than an ordinary three-piece match. As the boards expand, inspect any marked jewel before using it; special pieces can change which swap is most valuable.
Later combinations introduce larger effects. A rainbow jewel can clear the shape it is swapped with, and a star clears its row and column. Avoid casually combining two nebula jewels: that particular pairing ends the game. You can learn the early boards comfortably without memorising every advanced combination at once.
Read completion and keep the run going
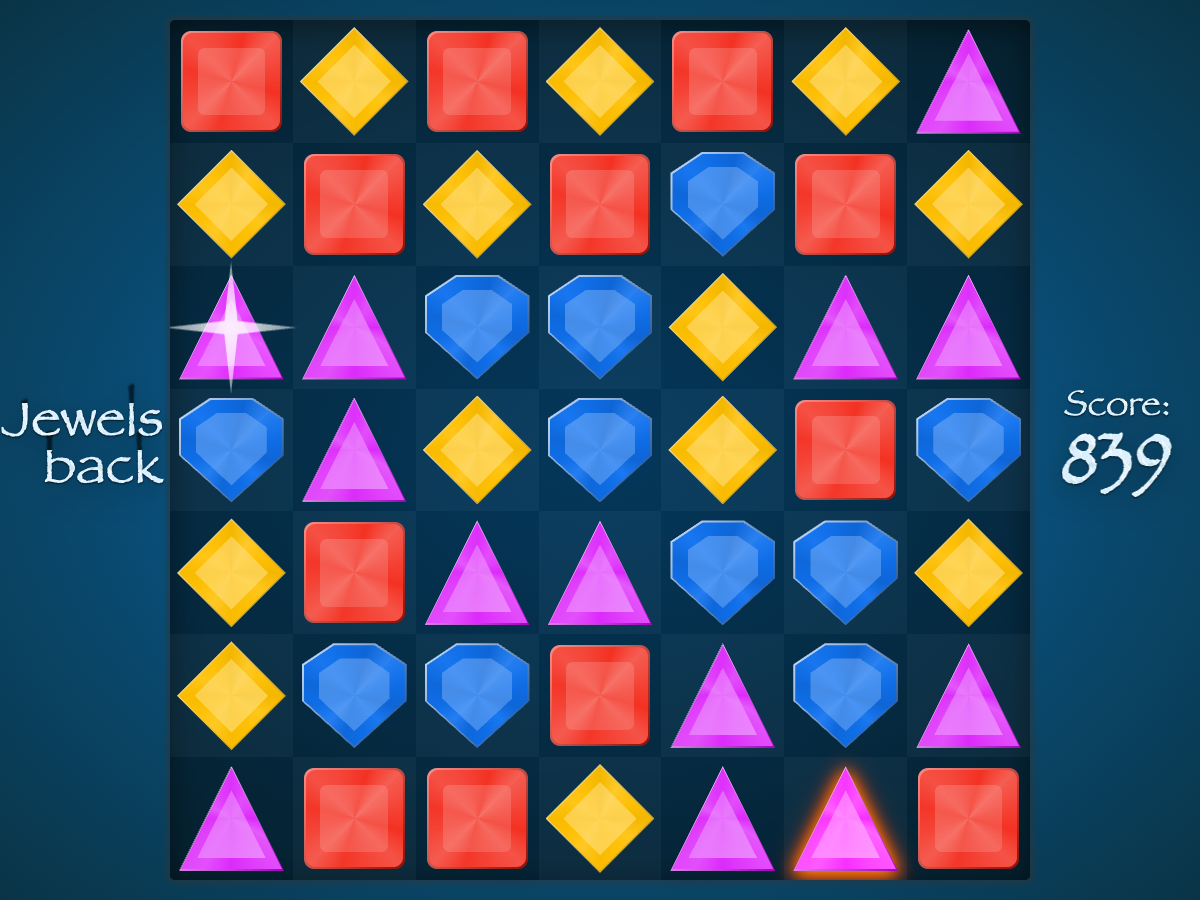
Level completed means the current score milestone has been reached. The board clears and the next layout appears automatically. Wait until the new jewels are visible before choosing your next swap. Level 2 uses a seven-by-seven board and a 600-point milestone.
The run pictured here cleared the tutorial at 11 points, passed Level 1 at 310, and then crossed the next milestone with a large cascade. The new board began at 839 points. That jump illustrates why the outcome of one move can exceed the value of its initial match.
Know when to restart
The run ends when no possible moves remain. There is no saved run to restore after leaving or reloading. To begin again, reload the game page, choose Play now, and start from the tutorial with a fresh score.
Quick tips
- Watch shapes as well as colours when checking a match.
- Treat locked squares as gaps that break a line.
- Wait for all cascades before deciding which pieces are available.