Jelly Buddies · 4 min read
Jelly Buddies Guide: Make Room for Your Next Merge
Jelly Buddies turns a simple matching rule into a lively balancing puzzle. Drop small creatures into the container, let equal buddies combine, and leave room for the larger creatures they become. Your aim chooses where a drop begins, but the soft pile decides how it settles. Start by building a low, readable group instead of chasing every possible point at once.
Play Jelly BuddiesStart with a match you can see
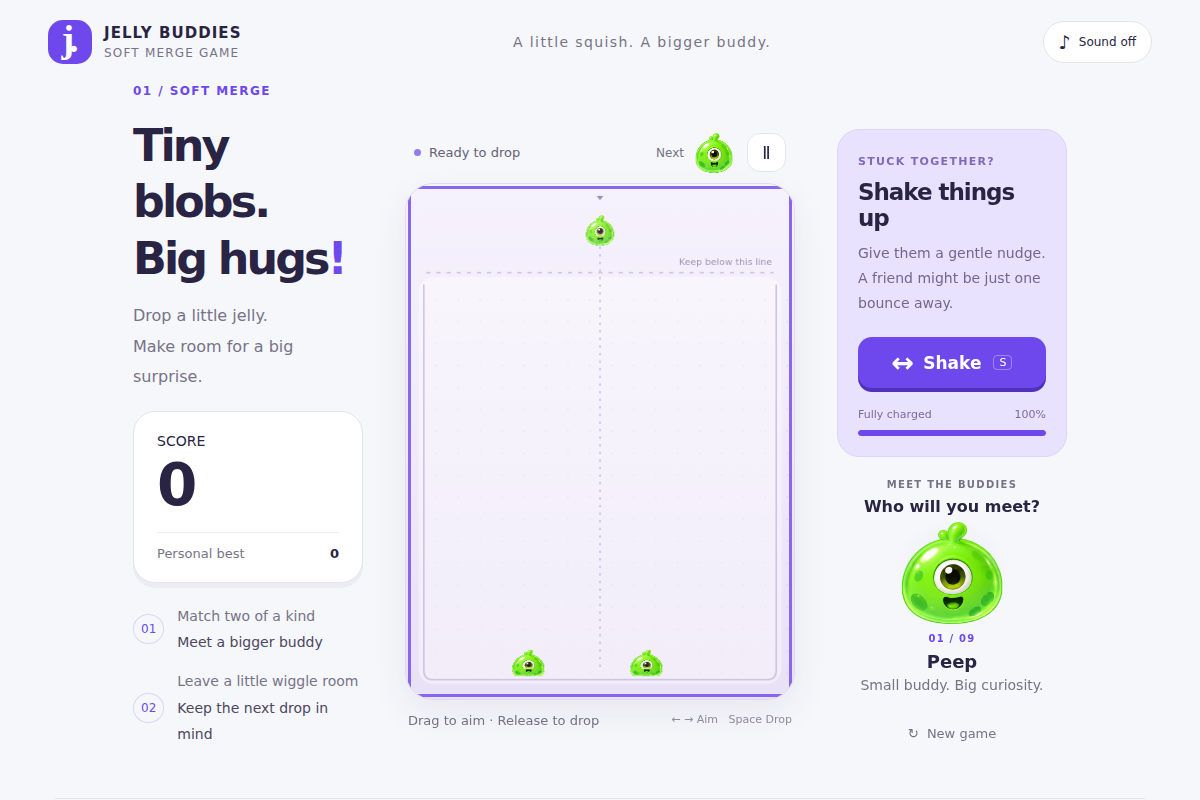
Each round starts with two small green Peep buddies at the bottom and another green buddy ready to drop. Move your pointer above either starting buddy and click, or drag across the playfield on a touchscreen and release. The dotted aiming line helps you choose the starting position; the creature can still bounce or roll after landing.
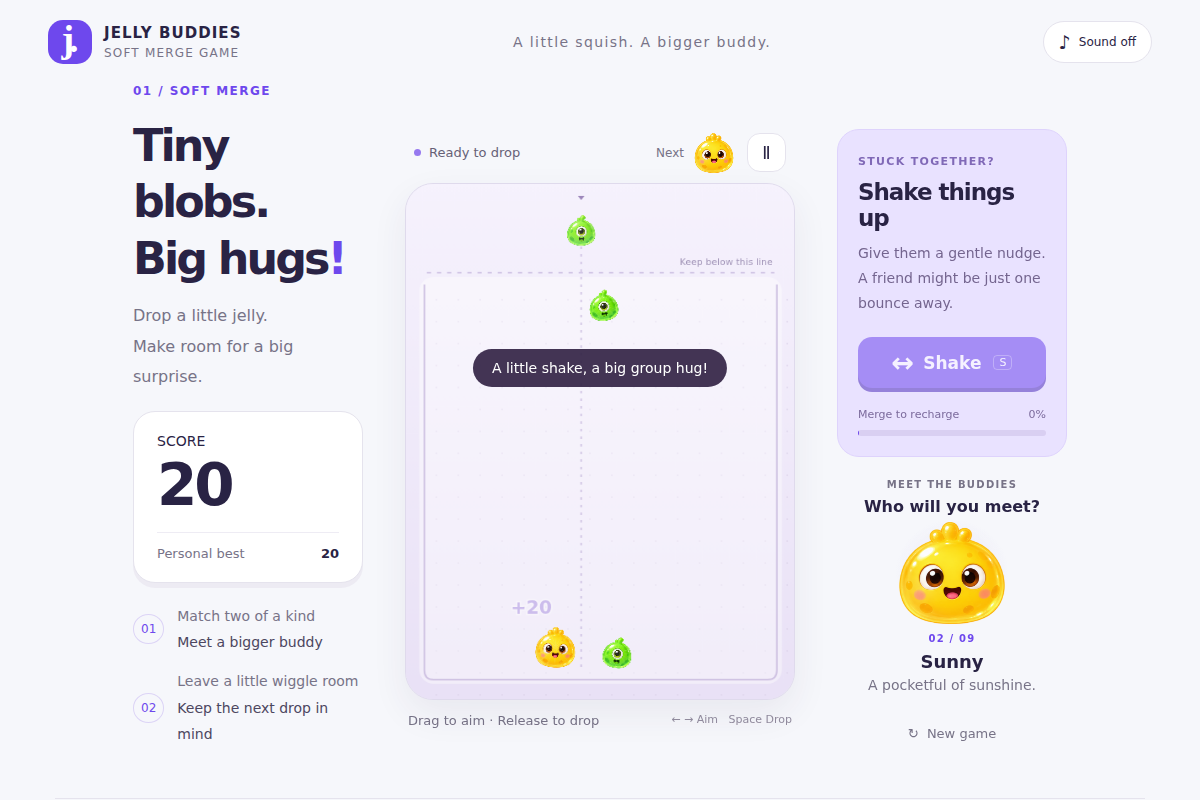
Left and Right Arrow also move your aim, and Space releases the held buddy. A short cooldown separates drops. Wait for the Ready to drop label before trying again, then watch the pile settle. Your first green-on-green merge makes a yellow Sunny and adds 20 points.
- Aim above one of the two green buddies on the floor.
- Release one creature and watch where the merged yellow buddy settles.
- Check the Next preview before choosing a home for the following drop.
Keep matching buddies within reach
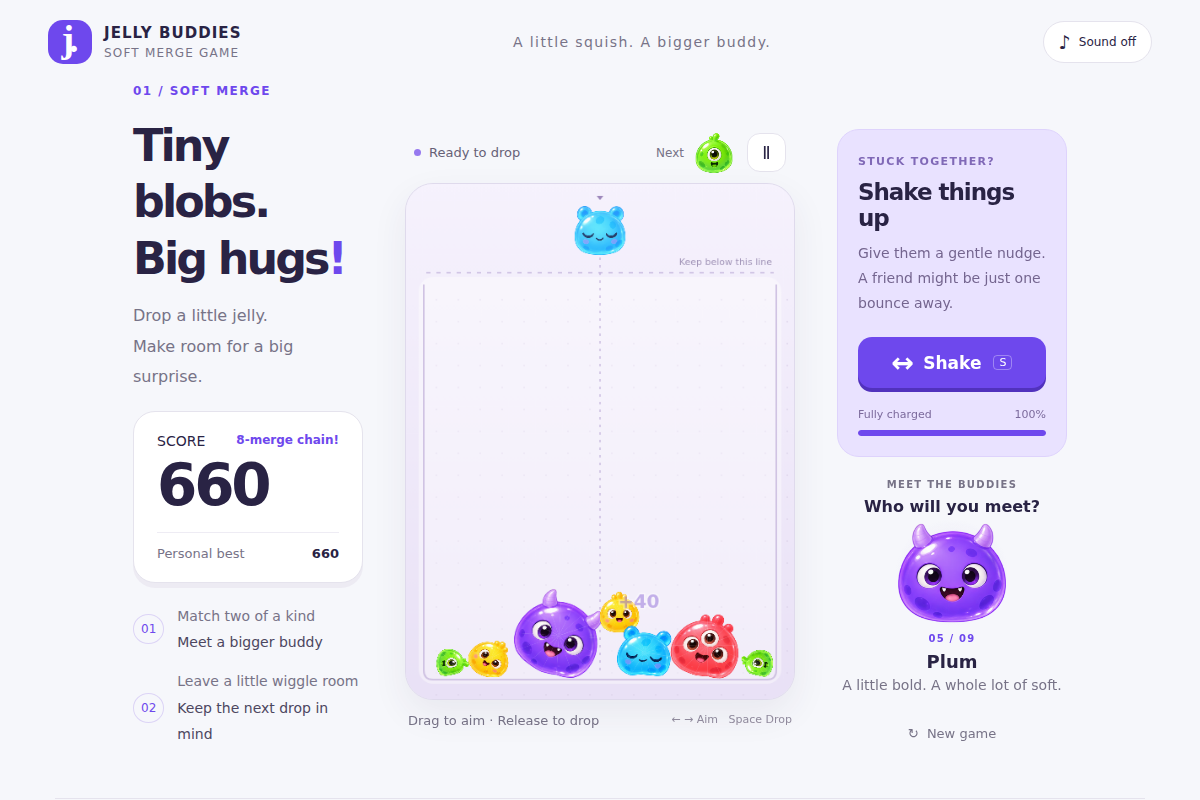
Only two buddies of the same level combine. The nine-level sequence runs from green Peep through Sunny, Snoozy, Triclops, Plum, Bloop, Fuzz and Peachy to Starhorn. Color and shape identify the level; size grows as you progress. Different levels can squash and lean against each other without merging.
A useful landing spot leaves a route for the next matching creature. Keep small buddies near other small buddies instead of burying a lone green under several larger ones. Spread the pile across the floor while keeping likely pairs close enough to meet. A tall, narrow tower leaves less room for a bad bounce.
The held creature is the one you are about to release; Next shows the one that follows it. Use both pieces of information when deciding whether to complete an immediate match or leave a small pocket beside an existing buddy. The soft bodies keep moving after contact, so rapid dropping can hide an otherwise useful opening.
Use a shake when it can reconnect a pair
The Shake button, or S on the keyboard, nudges the whole pile when the energy meter reaches 100 percent. It spends the full charge. Energy returns gradually during active play, and merges add extra energy. Pausing also pauses that gradual recharge.
Save a shake for matching buddies that are close but separated by an awkward lean or a small obstruction. It may help them fall together, but it can also rearrange a comfortable stack. Look at the space above the pile before using it, then let the wobble settle before you drop again. A shake is an opportunity to rearrange the board, not a guaranteed match.
Watch the pile, not just the score
The dashed line near the top marks the danger area. An older creature that remains above it builds up the danger warning; sustained overflow ends the round. Newly dropped creatures have a brief grace period while falling. A momentary bounce is different from a pile that has nowhere left to settle.
When the pile gets high, stop dropping long enough to assess the available matches. Prefer a landing that joins an exposed pair without adding a new isolated layer. A charged shake may help, but do not depend on it to rescue every crowded board.
Each higher-level merge awards more points. Matching two final-level Starhorn buddies clears that pair, awards 5,120 points and allows the round to continue. Reaching the final creature is a milestone rather than a forced end to the game.
Pause safely and know what is saved
Use the pause button, P or Escape when you want a break. The simulation stops, so you can return without the pile changing while paused. Switching away from the game also pauses play. Use the sound button to turn the synthesized game sounds on or off.
New game asks for confirmation before resetting the board and current score. Cancel returns to the existing round. Your personal best and sound preference are stored in the same browser when local storage is available. The unfinished board is not saved across a reload, and clearing browser data removes the saved record.
Quick tips
- Watch both the held creature and the Next preview before dropping.
- Allow a fresh merge or shake to settle before adding more weight.
- Keep the pile broad and low, with matching small buddies close together.
- A higher score helps only while there is still room for the next drop.